
Categories
Tags
-
#WOW Classic Gold
#MUT Coins
#Cheap POE Currency
#Rocket League Prices
#Buy Animal Crossing Bells
#ACNH Items
#Animal Crossing Nook miles Ticket
#Buy MT
#NBA 2K22 MT
#Buy NBA 2K22 MT
#Madden 22
#madden
#nook miles tickets kaufen
#NBA 2K22 locker codes for
#Diablo 2 Resurrected Items
#FUT Munten
#NBA 2K22Xbox One MT for
#coins FIFA 22
#cheap Diablo 2 resurrected ladder
#Diablo 2 resurrected runes for
#ACNH Outdoor Restaurant Designs
#Lost Ark Gold for Sale
#Cheap Lost Ark Gold
#cheap D2R ladder items
#buy D2R PS5 runes
#Lost Ark Gold store
#Mut 23 coins
#buy Diablo immortal gold
#lost ark item
#buy D2 ladder runes
#D2 items
#buy PC Elden Ring Runes
#Rocket League Guide
#NBA 2K23 MT Store
#Nineveh Lost Ark Gold
#buy cheap Lost Ark gold
#ACNH Nook's Cranny
#Elden Ring Legendary Gears
#buy Diablo 2 Runes
#Lost Ark Gold Valtan
#see game gold
#MUT 23 coins price
#NBA2k23 mt buy
#shopping here
#go throung best game items
#NBA MT
#buy animal crossing clothing
#D2 Non-Ladder Items for sale
Archives
To play Diablo II: Reaper of Souls in its entirety in one sitti
-
After you have reached the Cathedral, you will need to descend to the Catacombs, which are located on the right-hand side of your map at the bottom of your map, and on the right-hand side of your map on the right-hand side of your map, in order for you to bring your journey to a successful conclusion. This map shows the Cathedral of St. Paul, which is located on the right-hand side of the map, as well as at its bottom-right corner on the right-hand side of the map. This vast underground labyrinth contains a large number of new monsters that must be dealt with as soon as possible, and it is absolutely critical that they are dealt with as soon as possible. In the world of Arachs, players have the option of selecting from a variety of races. To name a few, the Arachs, the Banished, the Afflicted, the Ghouls, and the Rat Men are among those who have been exiled. Aside from that, there are numerous others to choose from as well. It is difficult to complete this task successfully despite the fact that dealing with any of these enemies individually is not particularly dangerous. Learning how they all work at the same time while also exploring a large area that can make you feel overwhelmed is an extremely difficult task. As soon as you proceed to open the next door before you have finished dealing with all of your opponents in the room, you will be attacked from behind by Andariel, the Act boss, who will then attack you from in front of the screen.
Following the discovery of a pedestal in the Stony Fields, you will have access to the quest, where you will be able to learn the steps that must be followed in order to complete D2R ladder items successfully. From the Dark Wood, visitors must travel along a shaded path that winds its way through the forest until they reach the Black Marsh. As well as keeping an eye out for the presence of Night Clan Goatmen and Vile Archers as well as Ghosts and other monsters in this area, it is also important to keep an eye out for any other creatures that may be lurking around. It should be noted that characters who wield spellcasters will only suffer a slight reduction in manpower as a result of the attack by the latter monster, making it slightly more difficult to defeat him.
When undertaking this mission, one of the primary objectives is to track down and locate the boss, who is presumed to be on the top floor of the structure. Bring several healing potions with you in lieu of staying away from the situation entirely, or maintain an appropriate safe distance while remaining completely absent from the situation. Countess is also well-known for consistently dropping early rune drops, which can be used to boost the power of your equipment and weapons after they have been collected by the player as an added bonus. Her other drop items are a diverse collection of items, some of which are useful upgrades if you are fortunate enough to discover one while exploring. She also drops a variety of other items. When she is finished with the purging process, she will also throw away a variety of items that are no longer of use to her.
In order to complete the mission successfully and avoid being captured, you must speak with Charsi the blacksmith, who can be found back at the Rogue Encampment after you have dealt with The Countess. This conversation is absolutely necessary. Once your companion admits that she had forgotten to bring the hammer with her when she fled the Monastery, she will ask for your assistance in retrieving the hammer that she had forgotten to bring with her when she fled the Monastery. If you agree, your companion will give you the hammer that she had forgotten to bring with her when she fled the Monastery. In order to complete this optional quest, you will need to travel from the Black Marsh up to the Tamoe Highlands and through the Barracks, which will require a significant amount of time and energy investment. Whenever you reach a certain level of achievement, you will notice that the vast majority of the normal monsters that you have encountered will transform into upgraded versions of themselves. Most of the time, if you're between levels 12 and 15, you'll be able to breeze right past them for the most part. It is unnecessary for you to continue grinding if it is not what you want to be doing at the time because you will almost certainly be prepared for Act II by that time.
Whatever your intentions are, you should expect to be intimidated upon buy D2R switch runewords your first arrival at the Barracks, no matter how well-intentioned you are. During your exploration, you will have limited space to move around, just as you did during your exploration of the underground passage. This will be similar to the situation you found yourself in during your exploration of the underground passageway earlier this week. To ensure victory, devote as much time as necessary to combating the monsters. Keep an eye out for creatures such as Blood Mages and Bone Archers, both of whom can be extremely dangerous if not dealt with properly. Take care of them as soon as possible after discovering them if you want to avoid further damage. It's possible that they will be able to inflict significant damage on you from a safe distance if you do not act quickly to stop them.
You must keep an eye out for The Smith, who is widely regarded as both the area's alpha male and the man who possesses the hammer that you are on the lookout for if you want to be successful. Not only does the player gain control of a large number of minions that can be used against the opposing team when he first enters the game, but he also deals significant damage to the opposing team while doing so. Making a concerted effort to entice him away from the situation and provide him with the opportunity to deal with him on his own terms will provide him with the opportunity to deal with him on his own terms, if you do not already have one. Visiting the Rogue Encampment for a short period of time is recommended if you find yourself in need of a break, or if you need to restock your supply of potions is recommended. As a result of your victory over him and his horde, you should seize the Horadric Malus and give it to Charsi for safekeeping before returning to the battlefield. You will then be given the option of accepting or declining her offer. If you accept her offer, she will imbue one of your non-magical items with the ability to transform it into a randomly selected rare item, which you will then be able to use to complete your quest. Whatever suits your needs and preferences, you have the option of completing this task immediately or deferring it until you have access to more high-quality tools and resources.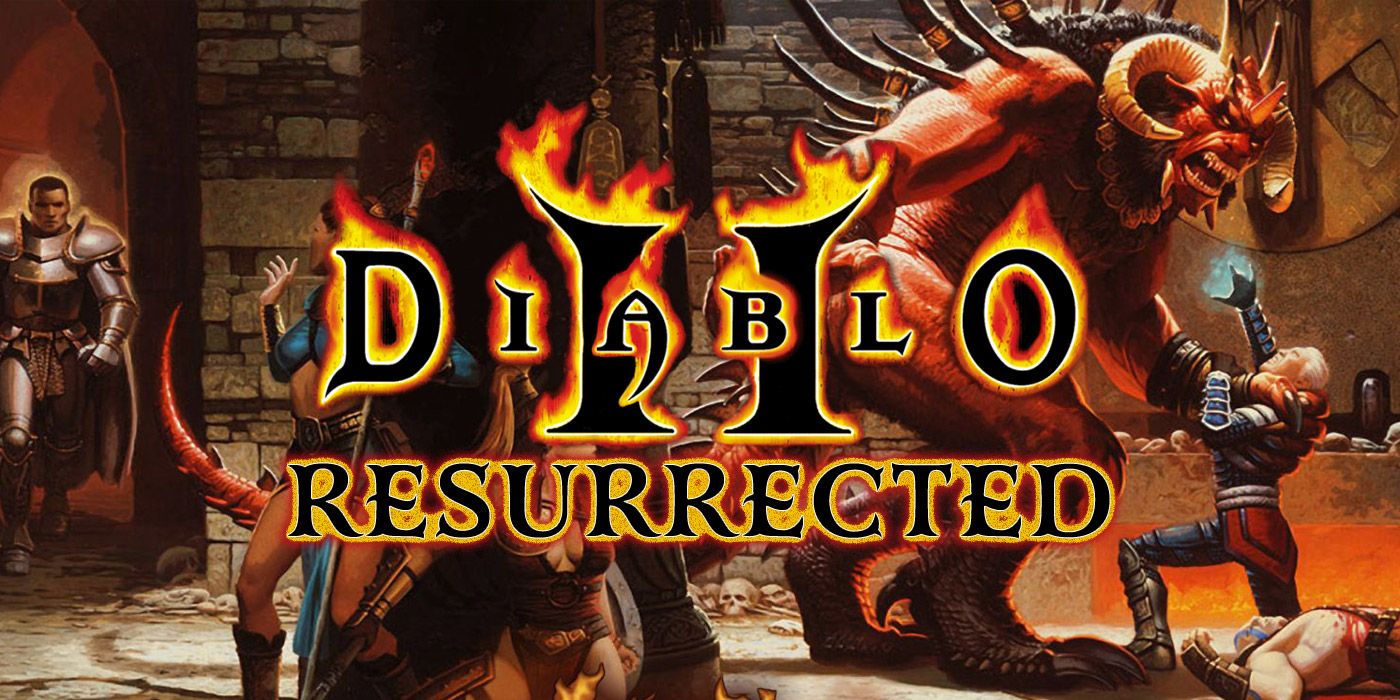
Taking on the Sisters to Slaughter campaign requires the completion of six missions, which must be completed in the specified order. In the Slaughter Chronicles series, this mission is the sixth mission to be completed and takes place in the town of Slaughter. It is also the sixth mission to be completed in the Slaughter Chronicles series.
It is essential that you complete this quest successfully in order to progress further buy D2R PS5 runes in the storyline. It is necessary to complete this quest in order to proceed with the story, and it is the only one you will be required to complete throughout Act I. If you continue at your current rate of completion, it will take you approximately one hour to complete the task you have at hand. Assuming that your conversation with The Smith was fruitful, it is recommended that you continue to follow him through the Barracks and into the jail. It is possible to encounter even more monsters in this area than you are accustomed to encountering on your adventures, and each level is divided into three sections for your convenience. Another notable change aside from the introduction of mana-sucking Wraiths, which are essentially tougher versions of the Ghosts you faced in The Forgotten Tower but with significantly more health, is the introduction of new enemies to the game. Additionally, a new feature has been introduced, which is the only other significant change to the game thus far. After you have completed your mission in the Jail, you will be taken to the Inner Cloister for further investigation, which will take several hours and require you to remain there overnight. In this location, you will be able to continue your investigation into the matter at hand. After completing the Waypoint collection, you will need to return to the shop in order to restock your supplies and continue your journey.
In order to complete the mission, proceed through the door and face Andariel directly in the face. Before proceeding with step two of this mission, it is first and foremost necessary to move her closer to the entranceway. In order to keep her alive for as long as possible, you should avoid activating all of the other enemies in the room with her unless it is absolutely necessary. Immediately engage in a firefight with whatever weapons you have at your disposal in the event that she comes within striking distance of you. Take action as soon as possible is absolutely necessary. Using your entire arsenal of weapons against her can D2R PC runes bring her to her knees in a matter of minutes, due to their inability to defend themselves in the first place. As a result, if you do not have access to fire-based abilities, you should ensure that your party has a sufficient supply of potions on hand. Her attacks deal a significant amount of poison damage to your party members, so if you do not have access to fire-based abilities, you should ensure that your party has a sufficient supply of potions on hand. The bad news is that the physical manifestations of the damage will take a long time to manifest themselves as a result of this damage. In the event that a safe return to town via a portal is required in the future, it provides ample opportunity for this to occur. Take the long route back into town, where you can speak with Warriv in order to progress to Act II of the play, which is currently in progress at the time of writing. Take the long route back into town, where you can speak with Warriv in order to progress to Act II of the play. Make your way back into town, where you can speak with Warriv in order to progress to Act II of the play. Take the long way back into town. After that, you can proceed to collect your loot and tuck it away in a hidden corner while you look through your collection of trophies and medals for sources of creative inspiration.